Priming experiment
In the last 2 weeks I bought a few tools and samples to practice applying primer and check out quality. The hope is I can get some idea what each type of primer feels like when applied to aluminum so I will have less anxiety when the tail kit arrives in ~5 months.
Experiment Setup
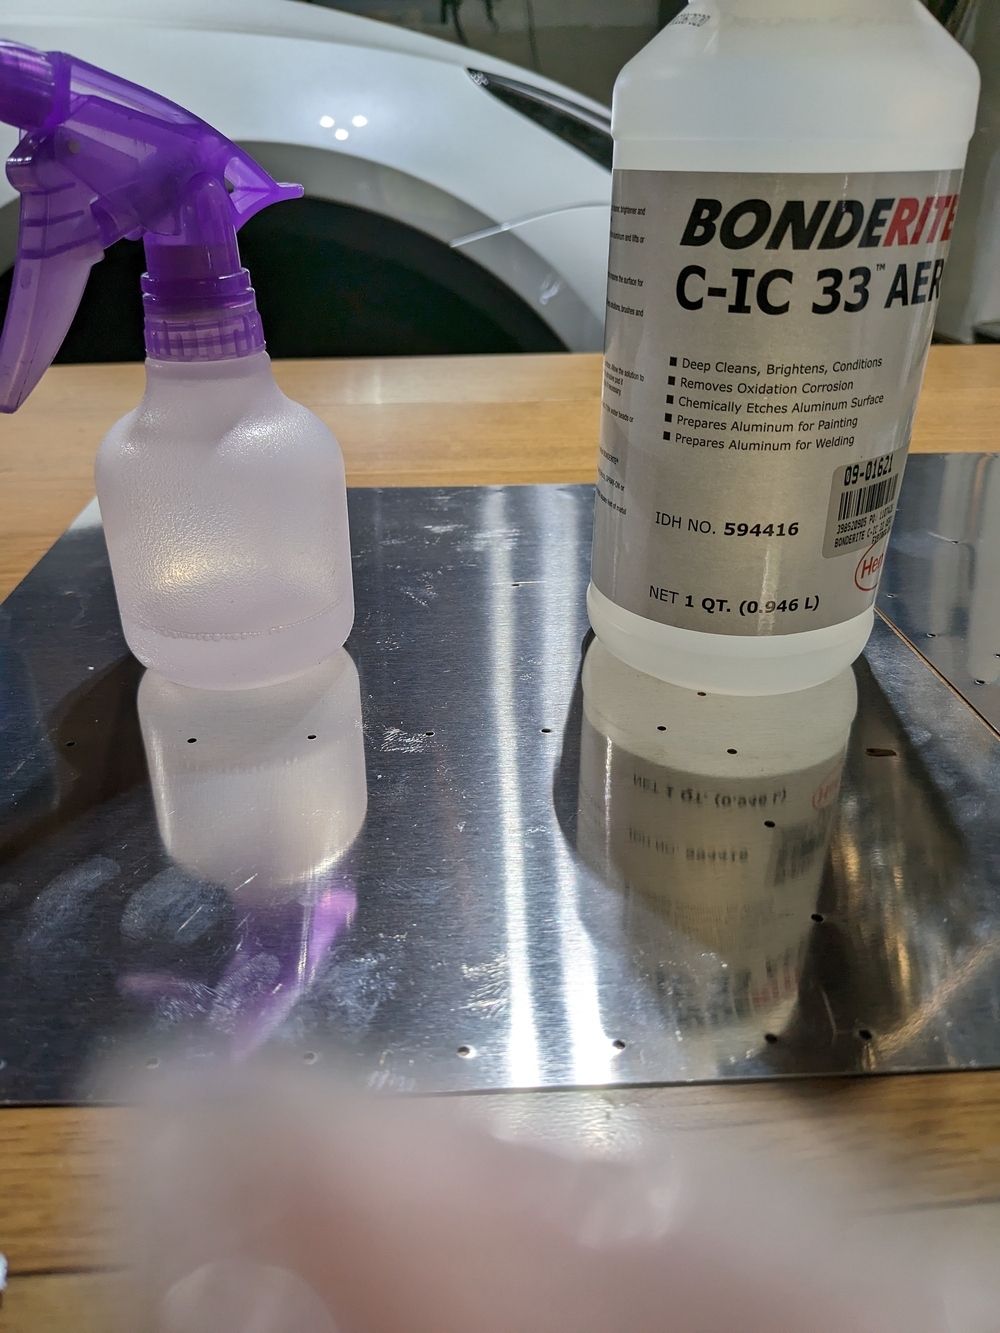
I bought Bondrite C-IC 33 as etching/cleaning solution.
I also bought EkoPrime and Rustoleum self-etching primer to compare results.
For the air sprayer, I got the $69.99 kit from Harbor Freight.
I have a few sheets of aluminum from Van’s practice kit, so I am planning to apply different primers on 2 pieces of aluminum to see the difference.
BondRite C-IC33
I only had to clean 2 very small sheets of aluminum so I put the acid in a small spray bottle my daughter used for her art project, and just sprayed it on the metal.
Then I used maroon scotch-brite pads to rub the solution following an up-down direction until the entire sheet showed bubbles evenly.
I did this to both sheets of aluminum and waited a few minutes to wash them off using clean water.
Rustoleum
This was a fun process. I shook the bottle for a few minutes and started to spray.
Lesson: DO NOT spray too close to the metal!
This is the first time ever I applied primer, the bottle was about 3 - 4 inches from the metal. It was WAY too close. The spray basically made a very thick and round green dot on the metal. While spraying, I started to move the bottle away. It eventually became a smooth fan of pigments.
Amy (my daughter) wanted to join the fun :-) I gave her the bottle, and she did the exact same thing as I did in the beginning. The nozzle was too close and left a thick green line that does not blend with the rest of the surface at all..
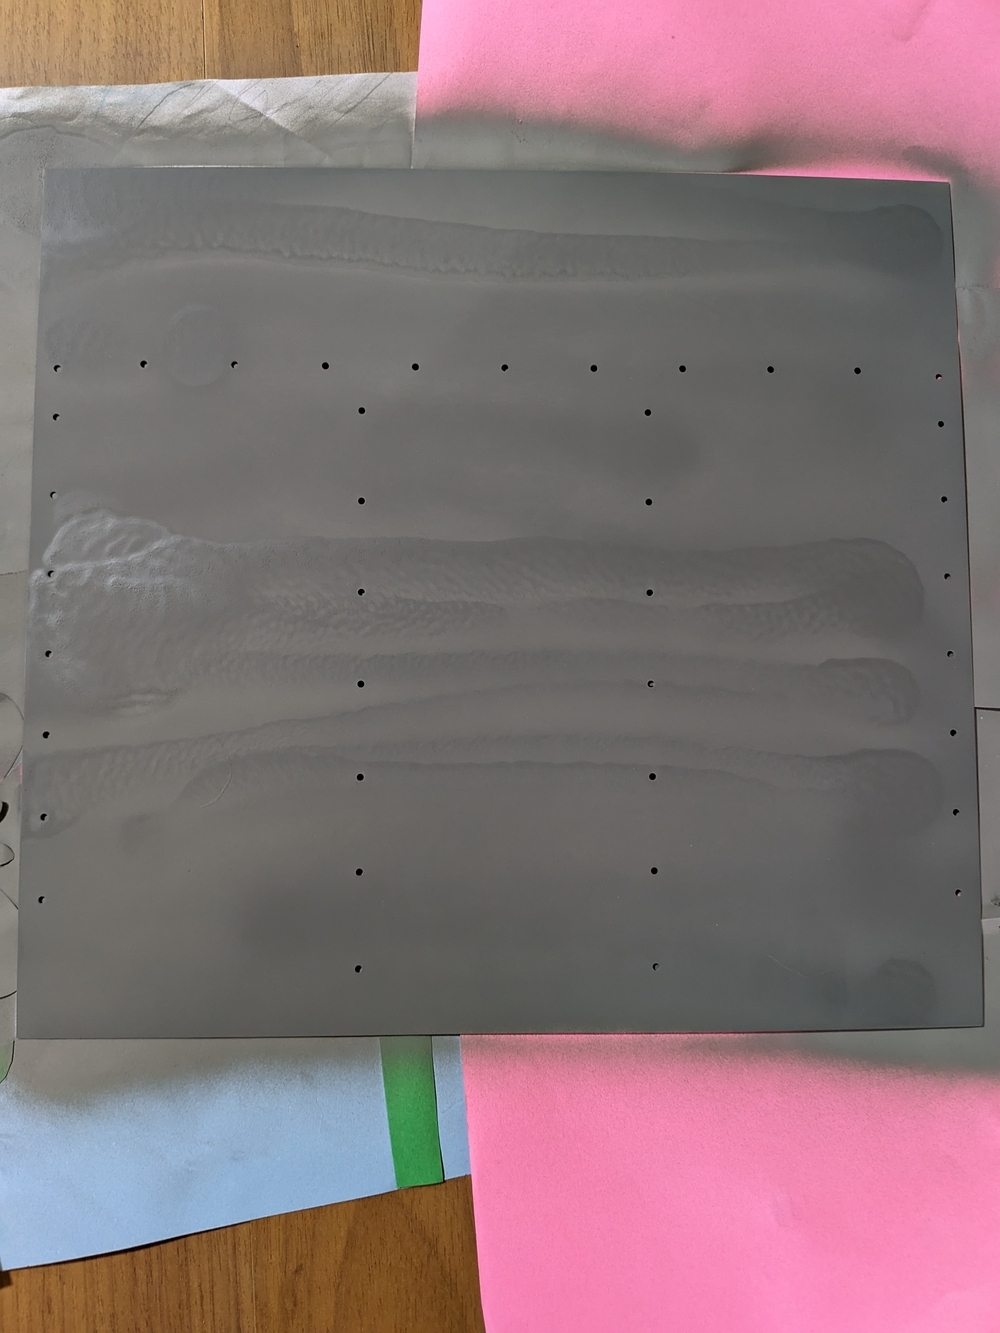
I waited a few minutes for it to dry, then applied a second coat. The second coat smoothed out some of the uneven surfaces in the first coat, but could not fully cover the super thick line when the nozzle was really close to metal.
But I don’t think an uneven coat will make any difference in terms of protecting internal parts. So that’s fine. The uneven surface will definitely affect exterior paint so I will have to practice more in the future.
EkoPrimer
For air spray based primer, I had a bit of a struggle on what to use.
For this practice, I chose EkoPrimer. The main reasons are:
- It’s a tested system, used by many other homebuilders.
- It’s water based so clean up is easy.
Since I haven’t dealt with air spray painting before, I want to keep today’s experiment as simple as possible. So I want to focus on the paint, not cleaning up afterwards. EkoPrimer only requires water to clean up.
In either case, after dialing in my brand new central pneumatic air spray (actually I am not sure I dialed it in properly), I started to mix the primer using a stick and poured it into the air spray.
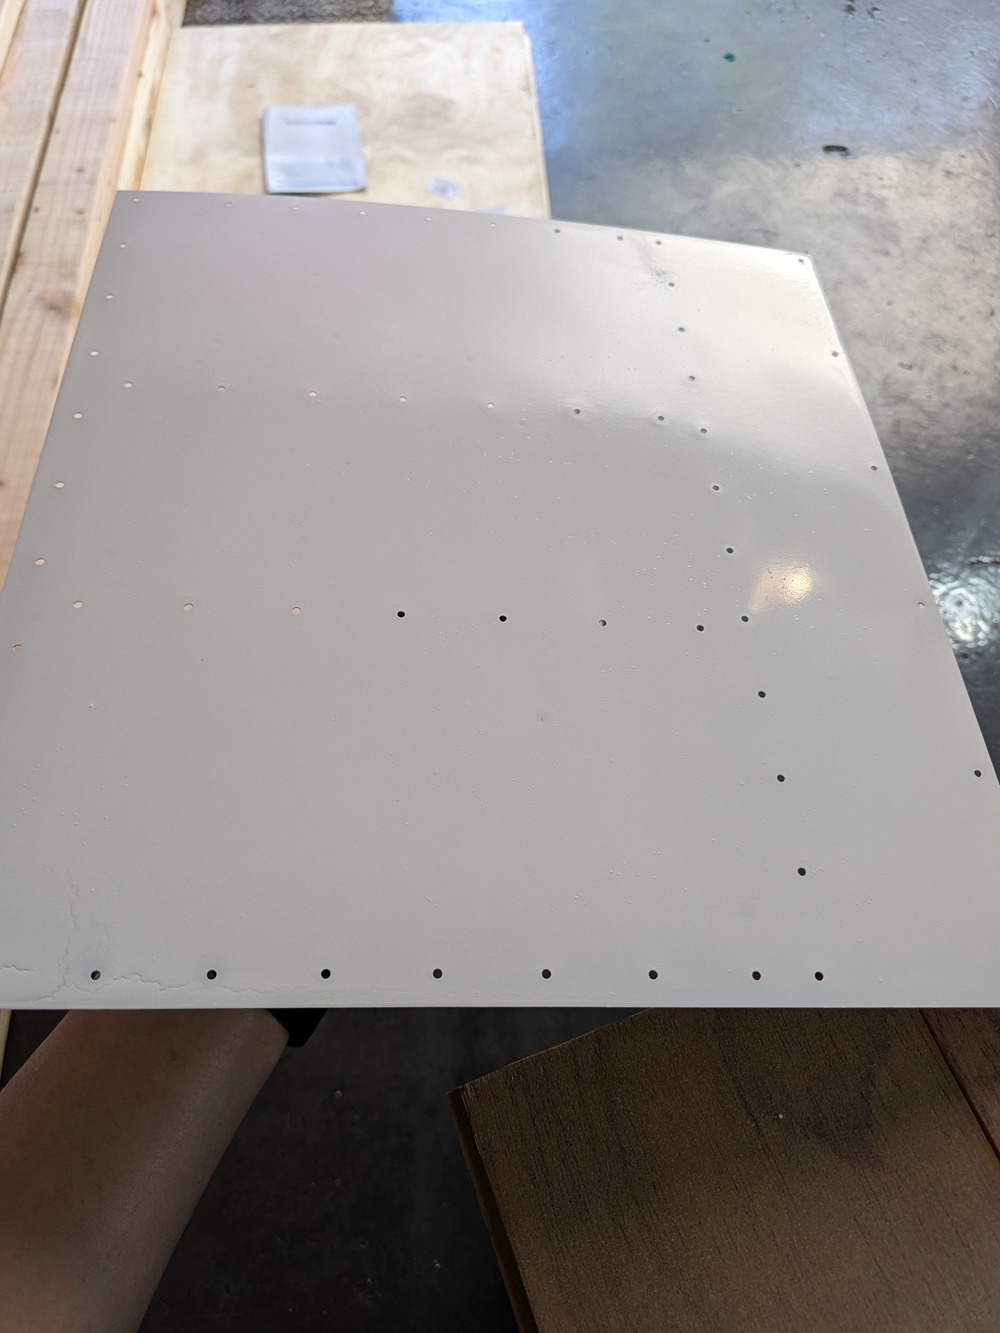
The painting took like 15 seconds :) I just squeezed the trigger and moved left - right - left - right a few times, and the aluminum was fully painted. It’s definitely more efficient than the rattle can approach for larger surfaces. In this process I was too close to the metal for some parts, and noticed very obvious orange peel on the paint. The primer was quite liquidy, it smoothed itself out a little bit, but not fully.
I applied a second coat to smooth everything out. However, the painted surface collected a lot of dust from my garage. For the experiment I think it’s fine. For the real paint I will probably build a small paint booth in my garage.
Lessons learned
- Distance between nozzle and metal is so important. This is true for both rattle can and air spray.
- Rattle can prep is easier, but covers less area for each squeeze
- I feel like this calls for a higher skill level to create a smooth surface because you will need to apply the rattle can longer.
- I need dust control, maybe a make-shift paint booth.
- I need chicken wire to make the parts “float”. Today the parts were just laying on the table. It made a mess on the table and a few pieces of paper got stuck on the aluminum.
Future observation
I hung the 2 pieces of aluminum in my backyard. I will keep them there for a few months under California sun. It will be roughly 5 months when my tail kit arrives. I will go check their aging when the kit arrives to see if primer did anything to protect the aluminum against the elements.
I think it’s actually a good thing that I didn’t really apply the primers perfectly. When I go check the effect in a few months hopefully I will see a more realistic result from imperfect application.